

Background
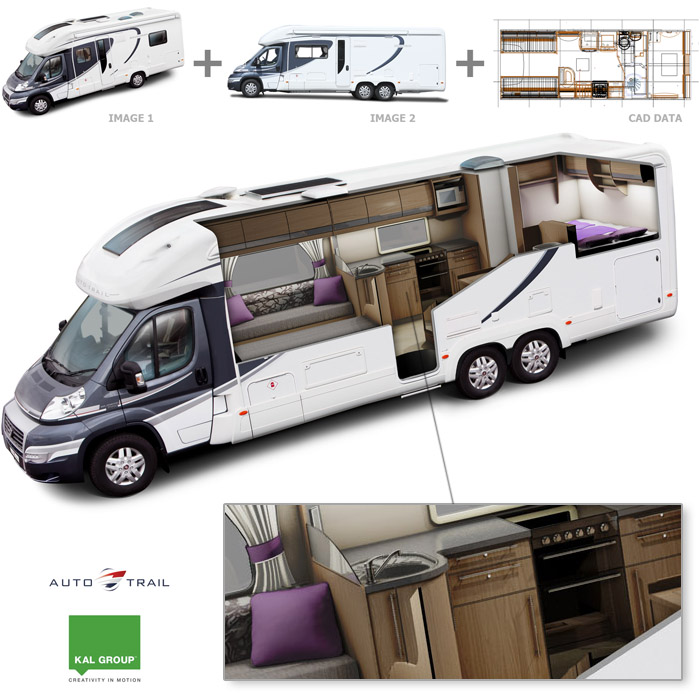
I was recently asked to produce a cutaway illustration of a vehicle using a combination of photography and manufacturer CAD data. I haven’t worked directly with CAD data before, so thought I would document the process.
CREDITS: It’s worth mentioning – I only provided the 3D content here. The vehicle photography enhancements (windows, shadows etc.) were already done by the guys at KAL Group.
The procedure
The CAD data was around 400MB in total. The first hurdle was converting that data into a form that could be cleaned up and rendered. It’s worth noting that you need a heck of a lot of RAM for this task. The system I used showed 6GB of memory in use during the conversion.
Once the data was converted, I removed all unnecessary object data (some of which was highly detailed) and set about optimising the geometry. The geometry itself exhibited some gaps and holes where surfaces has been calculated but didn’t match their neighbouring objects. This was a particular problem where curved surfaces met each other. I fixed many of these, but the majority were so small that they wouldn’t present a problem in the final render.
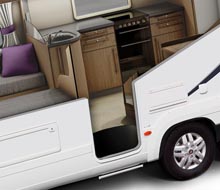
I was given two photo images of two different vehicles. The first was in the correct position for the final illustration. However, it wasn’t the correct vehicle. The second image was of the correct vehicle, but the angle was side-on. So, the first job was to Photoshop the side-on view to the angled view. This work took almost a day, as the accuracy of the image needed to be high – otherwise the 3D interior wouldn’t match the exterior!
The second task was to align the 3D CAD data with the photo image. I did this by maniuplating the camera with the vehicle photograph in the backround. Once the position and field-of-view were as close as I could get them, I enhanced the geometry with textures. I also remodelled a number of interior components (such as the cooker – which was way too complex for rendering). I added some interior detail, such as furnishings (to the manufacturer’s specification). I removed any geometry that would obscure the interior view. And finally, I lit and rendered the scene. The final image was very high resolution, over 300 dpi, which in itself presented memory issues. It’s a diffuse render, with an ambient occlusion shading layer blended in.
The final stage, was to integrate the render onto the photograph of the vehicle. I defined cut-away section using Adobe Illustrator (it’s better than Photoshop for things like that!). I also added some thickness to the vehicle shell, to make it look solid.
Vehicle Cut-out Illustration
- Categories →
- Illustration (CAD)
Portfolio
-

The F2 – Target Tekkers

-

Football Clash All Stars
-
Car Photographer Tools
-

Dr Popper Video Game
-

Unity Image Renderer
-

Murder Detective 3 – Prototype
-
Steel Rope Visualisation
-
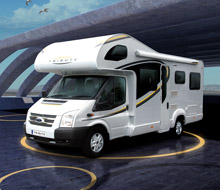
Motorhome in Modern Architecture
-
Screw Visualisation
-

Motorhome on Beach
-
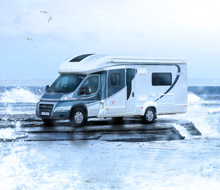
Motorhome in Surf
-
Motorhome Abstract
-
Vehicle Cut-out Illustration
-
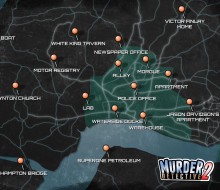
MD2 Game Map
-
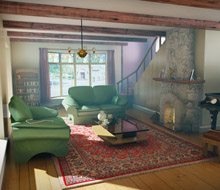
Traditional Home
-

The Dockyard CGI
-
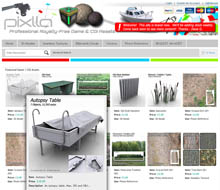
Pixlla.com | Website
-
MD2 Promo Video
-
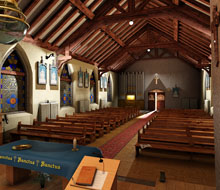
Inside Lynton Church
-

Murder Detective 2: Corruption
-
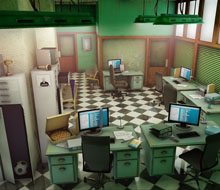
The Police Headquarters
-
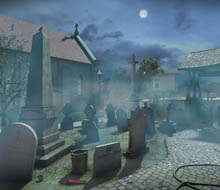
Lynton Church
-
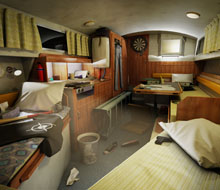
Phil’s House Boat
-

Tournay Software Logo
-

Hampton River
-

Mijnlieff Prototype
-
The Golden Chinese Restaurant
-
The Study
-
The Tattoo Parlour
-
Interrogation Room
-

BattleBallz Chaos
-
Need for Speed Carbon GBA
-
Need for Speed Most Wanted GBA
-
Need for Speed Underground 2 GBA
-
Need for Speed Underground 2 DS
-
Need for Speed Underground GBA
-
Need for Speed Porsche Unleashed GBA
-

TOP GUN FIRESTORM GBA
-

TOP GUN FIRESTORM GBC
-

E.T. The Extra Terrestrial GBC
-

Ultimate Fighting Championship GBC
-
Army Men Air Combat GBC
-
Men in Black 2
-
Sensible World of Soccer ’96/’97 PC
-

Offensive | PC
-

Jungle Strike Amiga
-
Dennis | Amiga
-
Taz-Mania
-
Speedy Gonzales Game Boy