
Rotating a Video
Okay I know, this sounds like a really basic requirement. You want to take a video, in this case a 400 x 224 pixel video, and perfectly rotate it while maintaining the exact same pixel dimensions. The desired end result would be 224 x 400 pixels. Sounds easy? Well in practise, I found there was very little software that could help me out here.
In this example, I needed to rotate some rendered video that I had produced to play in the portrait orientation on a smartphone. But, there are plenty of everyday reasons why you would need to rotate a piece of video. For example, there may be occasions where you recorded footage with your camera deliberately rotated so that the subject fills the frame (in portrait orientation). When you later download that video to your computer and view it, the video plays on its side.
The quick solution, I thought, would be to load the video into Adobe Premiere Elements (or any other video editing package) and rotate it in there. However, most video editing software is geared around exporting in a standard 16:9 or 4:3 screen ratio. So unless you zoom in, cropping the top and bottom of your image, your video will have huge black borders either side. I’m sure there are more expensive video editing packages out there that will export to different sizes, but hey – we’re on a budget here!
In the end, the best solution I found was to use none other than Apple’s Quicktime Pro. Here’s how to do it.
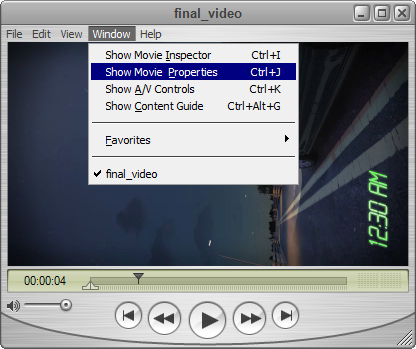
1. Load the video into Quicktime. You can see the video here orientated incorrectly.

2. You now need to select Show Movie Properties.
3. Within Movie Properties, you need to select the Video Track. Then, hidden away on the tabs below we have Visual Settings. Select this and you can see a wide range of settings, including size, rotation and image flipping. Use the Rotate button till your video is shown in the correct orientation.

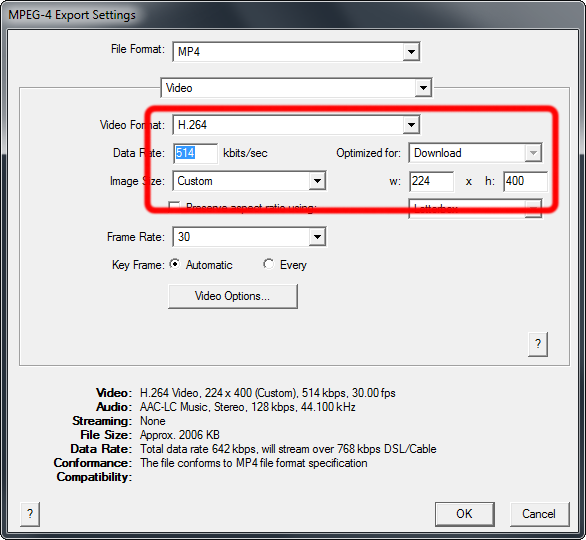
4. The final job is to export the new video. You will most likely want to save your rotated video in exactly the same format as it was previously. You need to find out the Data Rates for your original video. This can be done quite easily by looking at the video file properties in Windows (right click on the file, select Properties, then the Details tab). Make a note of the video and audio Data Rates and also the Frames Per Second. Use these figures when exporting your video in Quicktime Pro.
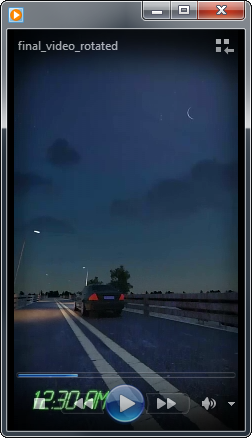
5. Finally, test your exported video, to make sure that there has been no loss in quality. If the quality has been reduced, re-export the video with higher Data Rates until you are happy with the result. Below is the rotated video playing in Windows Media Player. As you can see, the Player has adopted the correct non-standard video size when playing. It’s worth noting you may need additional Codecs to view MP4 files using Windows Media Player. And, not all video players will show your video correctly (Quicktime and Windows Media Player seemed okay). Finally, don’t expect this to work for YouTube videos 🙂